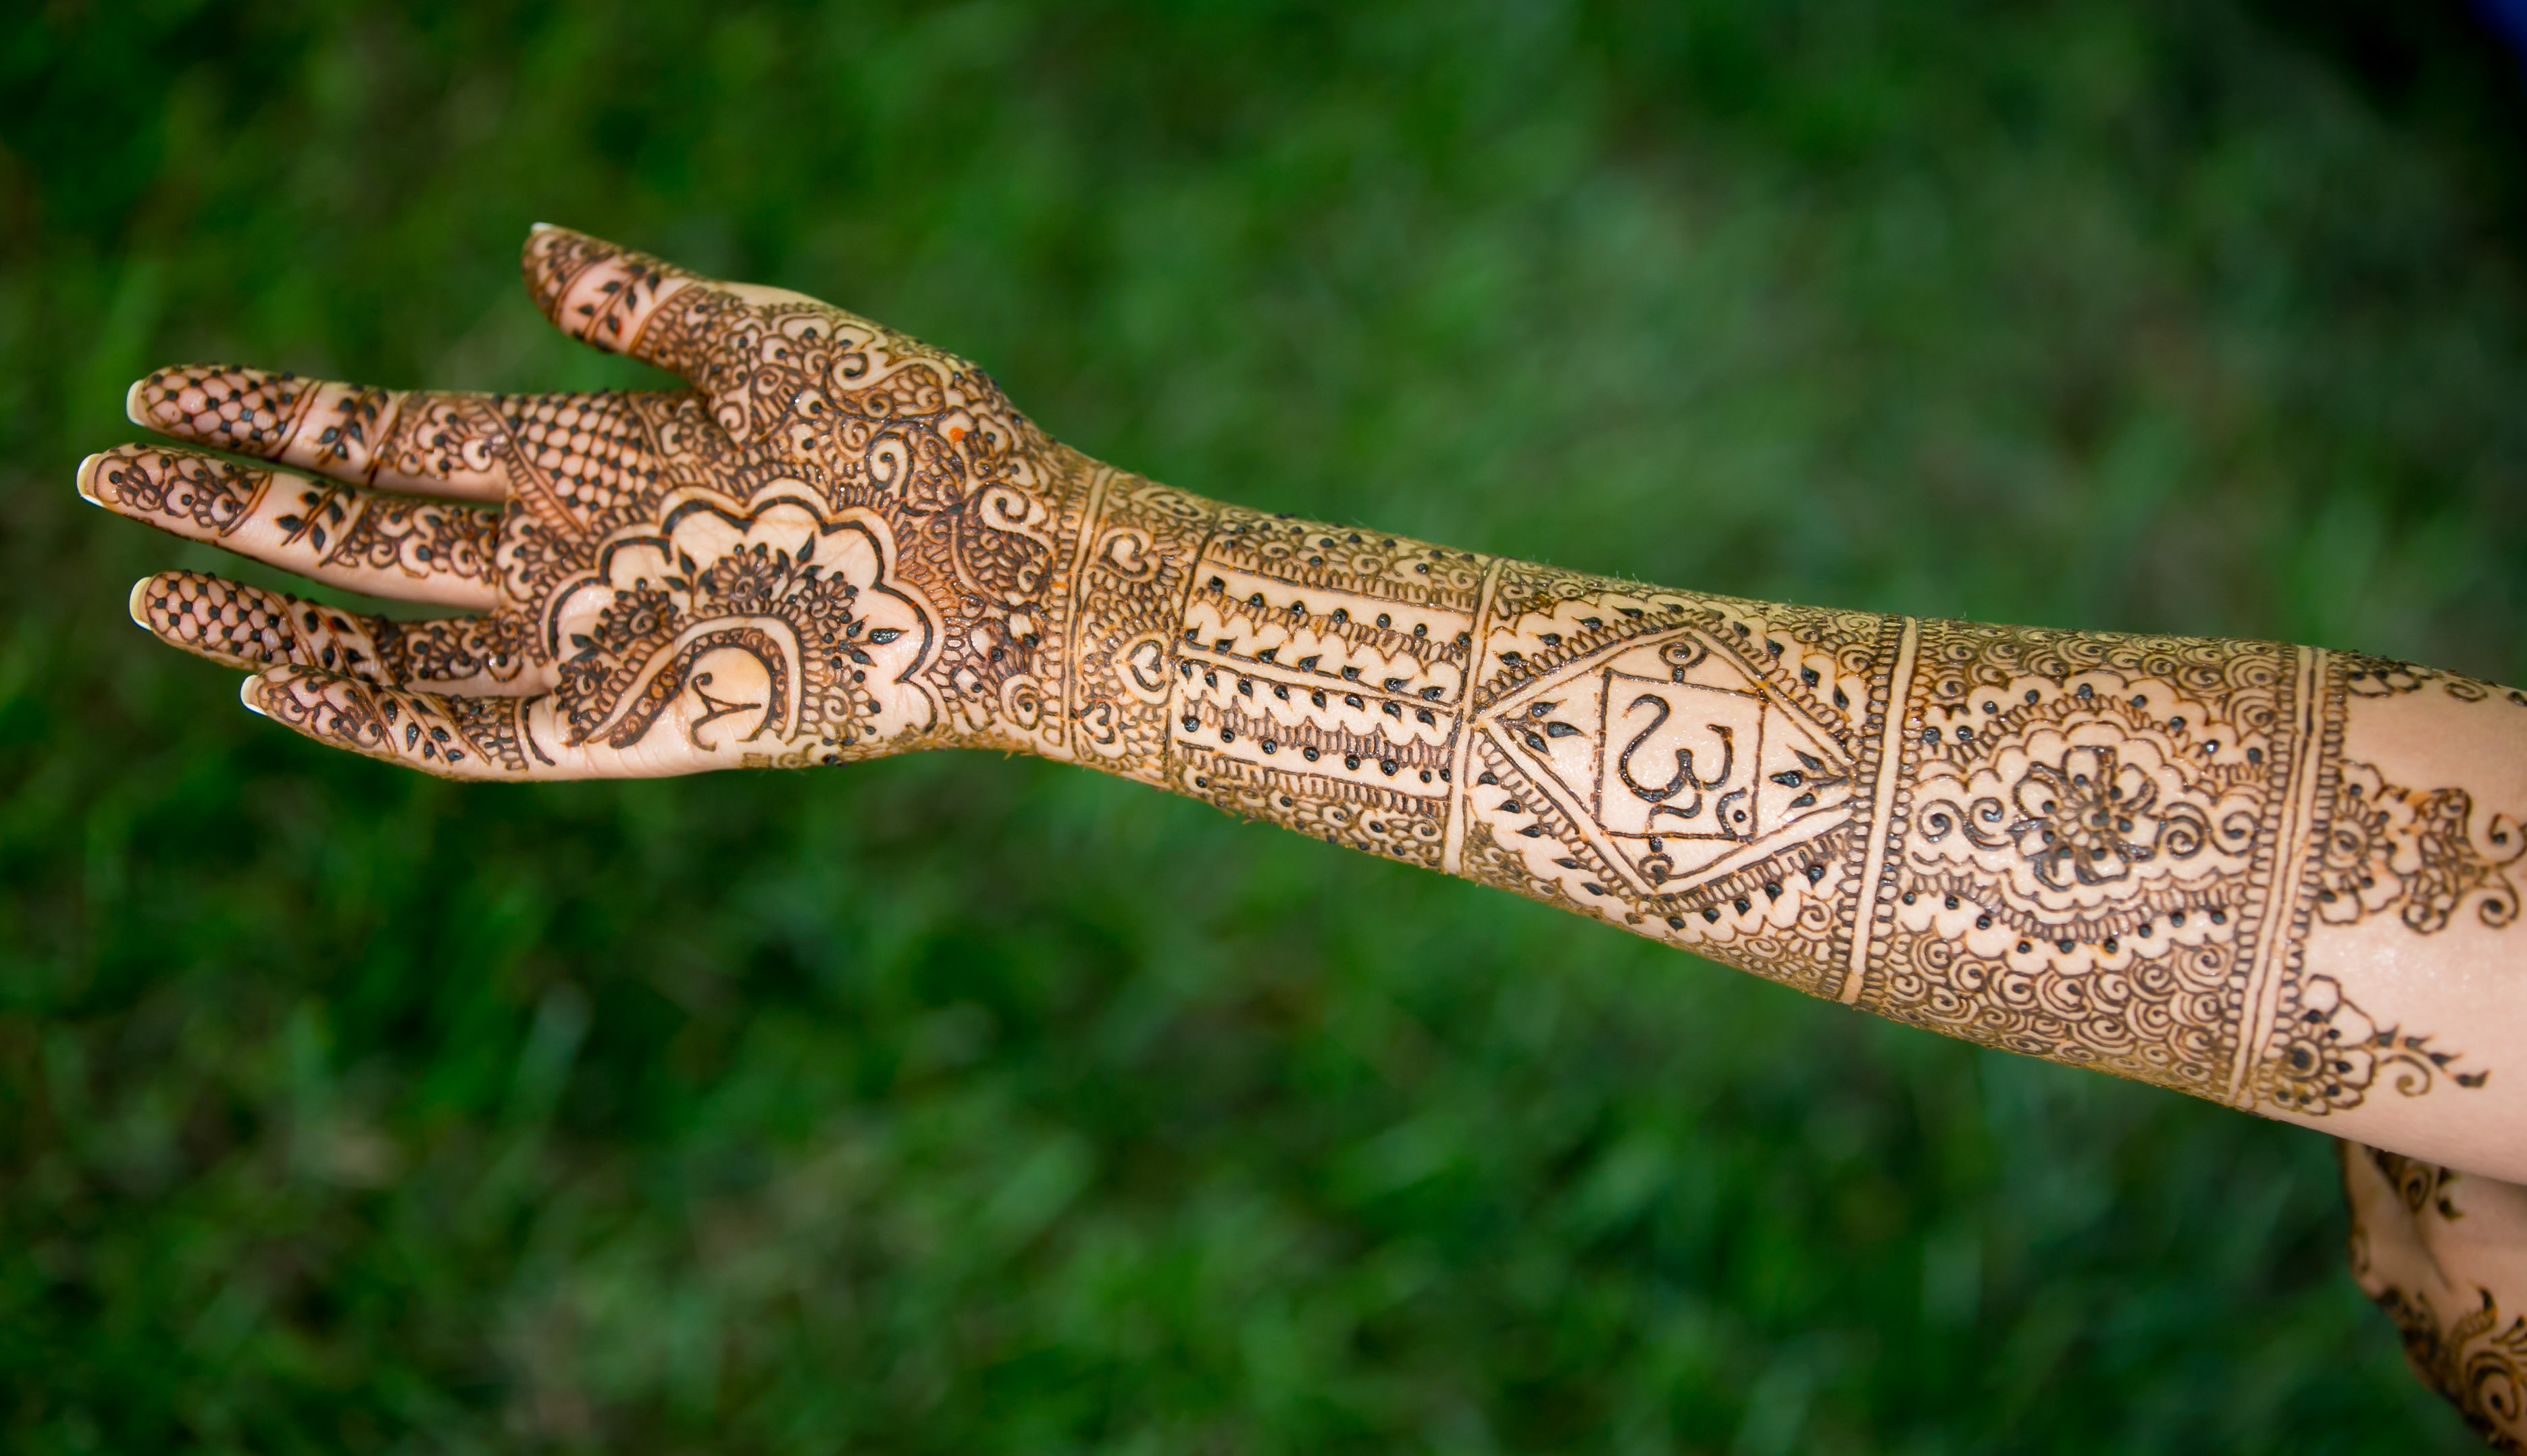
The day before one of our weddings last June, the bride showed me her hands, arms, and feet beautifully adorned with mehndi and said “Ambika did my mehndi. I didn’t see her on your preferred vendor list, but I think she should be on it.” Boy was she right! Since then, I’ve worked with Ambika of Blushing and Beautiful on a few occasions and have been amazed by her work every time.

Ambika was kind enough to share some of her top tips with us from selecting a mehndi design to what to do after you’ve removed the mehndi paste.
Selecting a Design
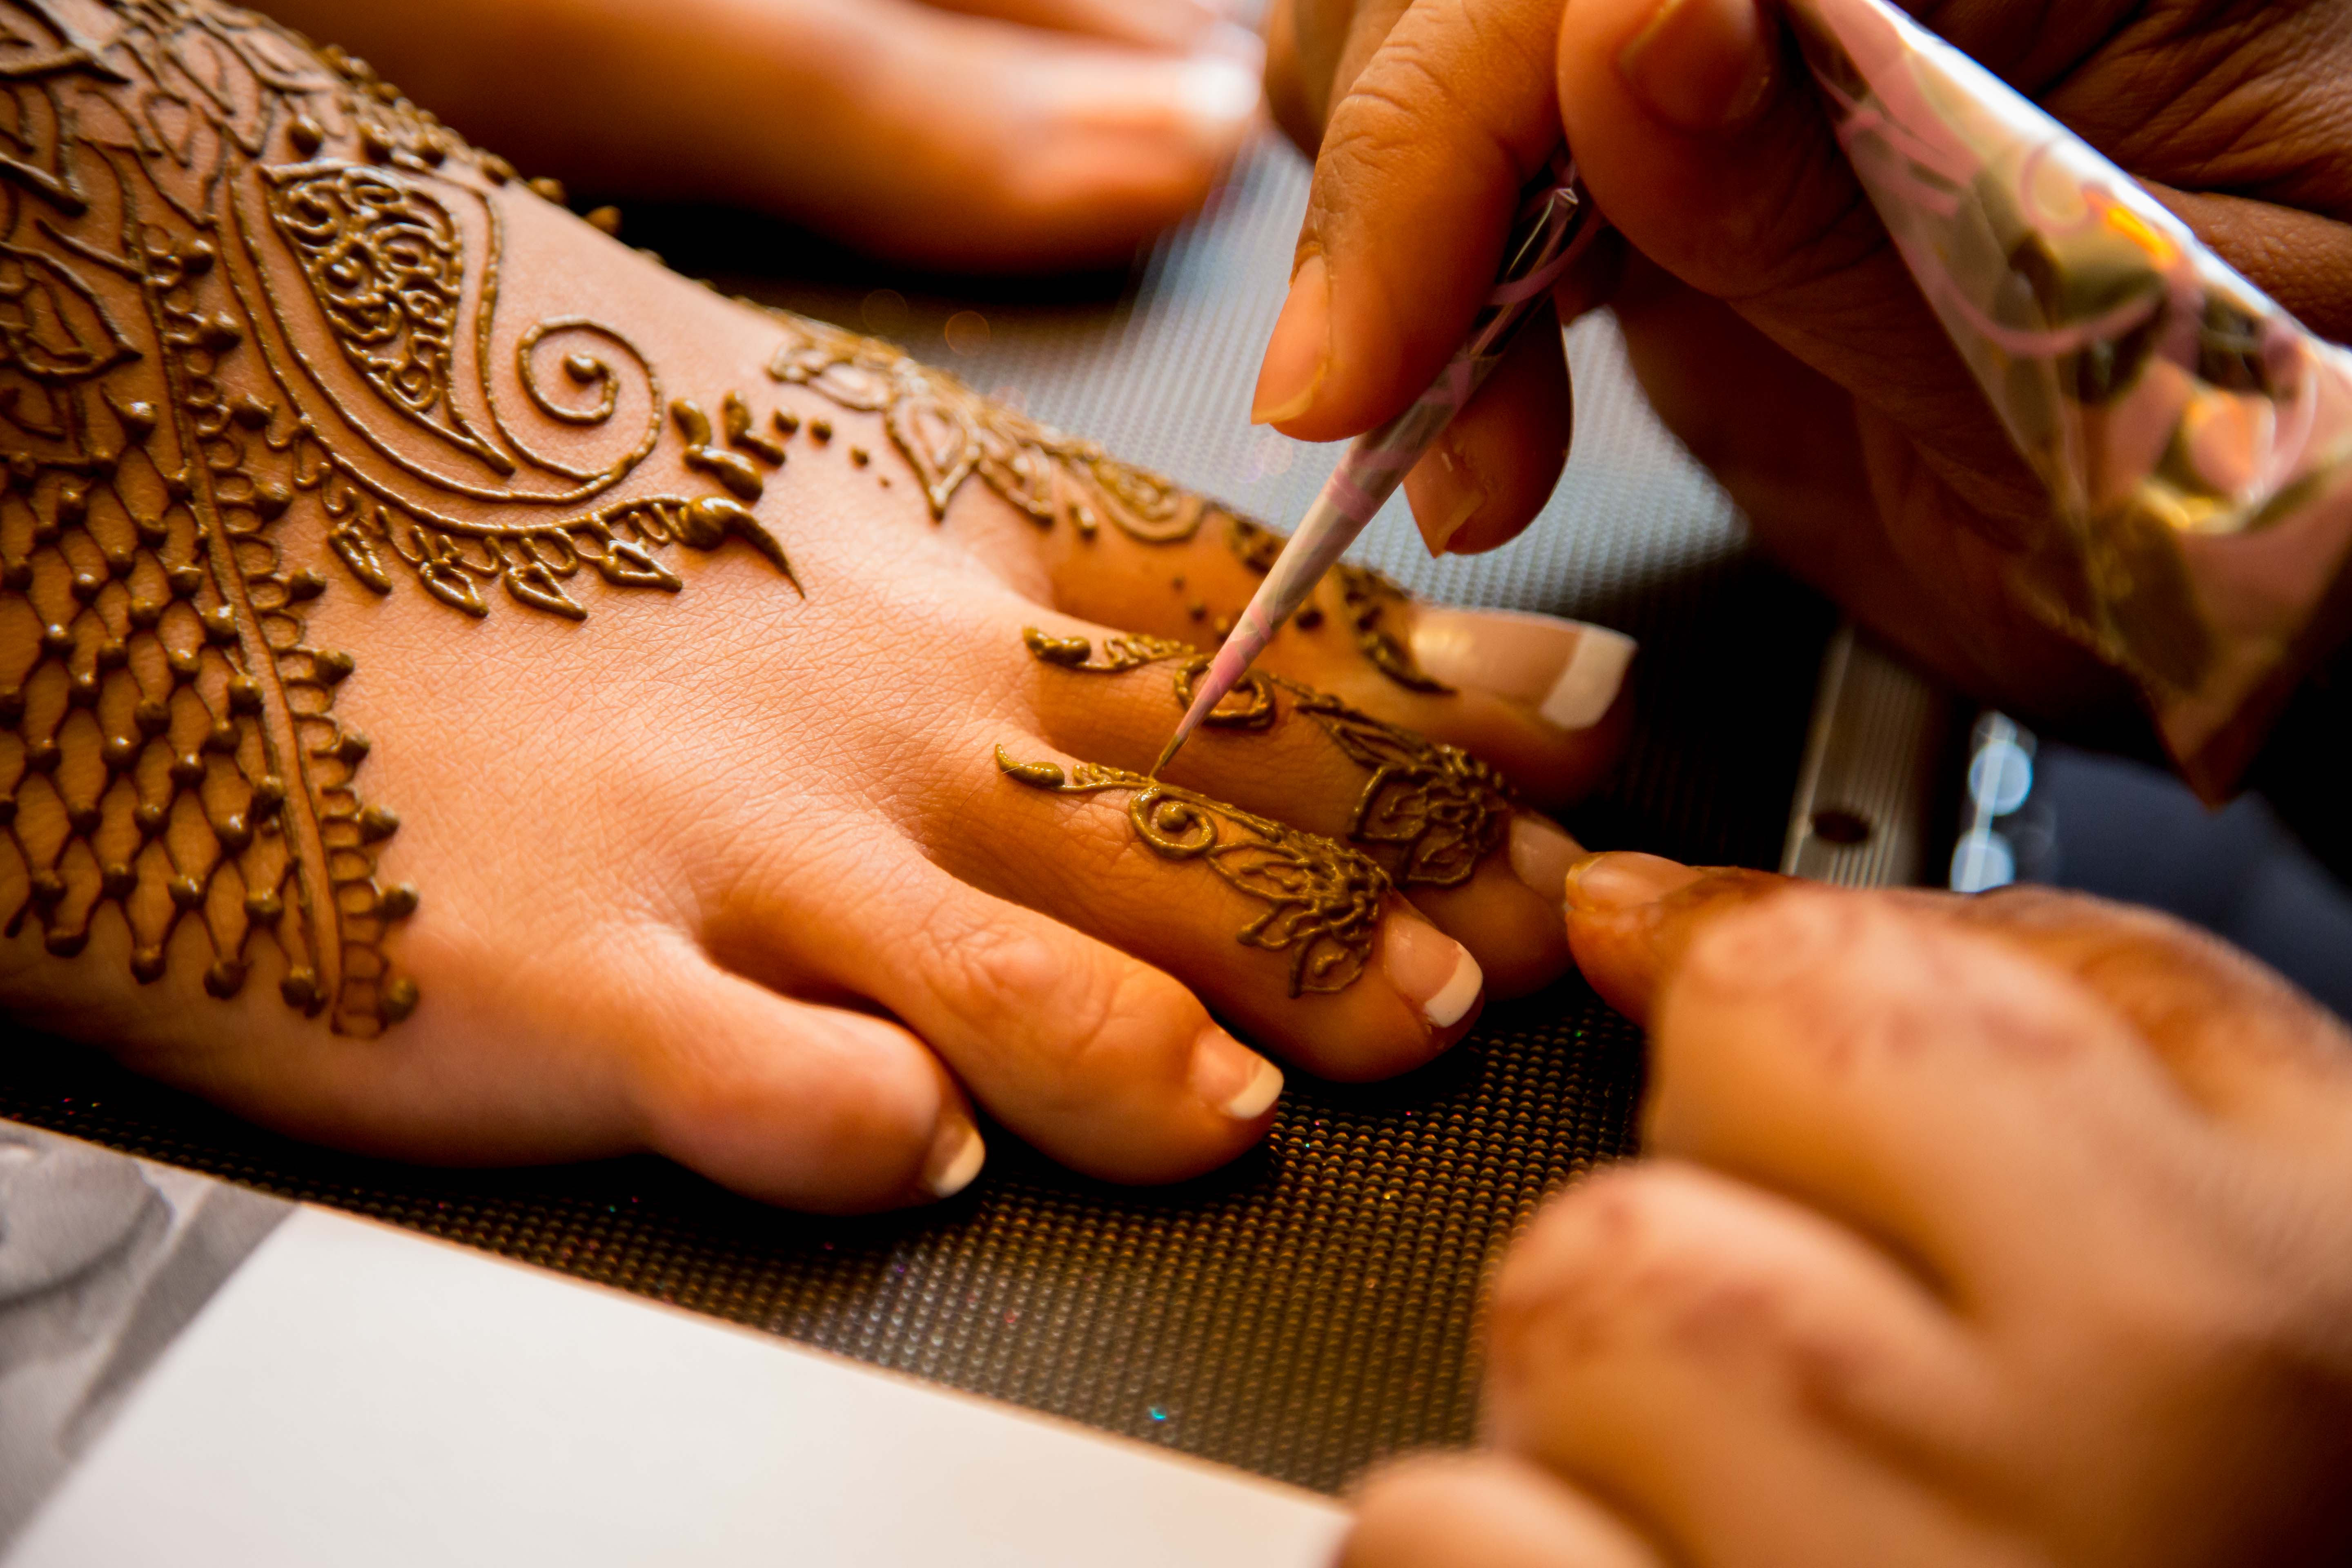
There are numerous gorgeous designs floating around on the internet. When choosing a design stay true to your own likes, concepts and creative layouts. If that seems confusing look for motifs, vines, flowers or other details that you make like. Make sure you have a consultation with your artist and express your needs, likes and dislikes to her. My number one rule when assisting brides is to make sure that the bride asks questions- any kind of questions. Questions help you and your artist focus on your specific style. Sometimes you may want a particular design replicated- please look at your artist’s work or ask her if she is capable of doing it. Sometimes not asking the right questions or expressing your concerns about your design can make you feel disappointed- you don’t want to be disappointed on your special day.
Before the Mehndi Application
- Wax/sugar/shave arms and legs 2-4 days before mehndi application. Doing so after can impede your color results
- Have your manicure and pedicure done the morning of your mehndi application or the day before. Skip massage and body oils as they can also cause your mehndi to not reach its potential color
- Avoid housework (score!) and excessive contact with water
- Wear comfortable clothes and remove contact lenses (if you wear them) prior to sitting to have your mehndi done
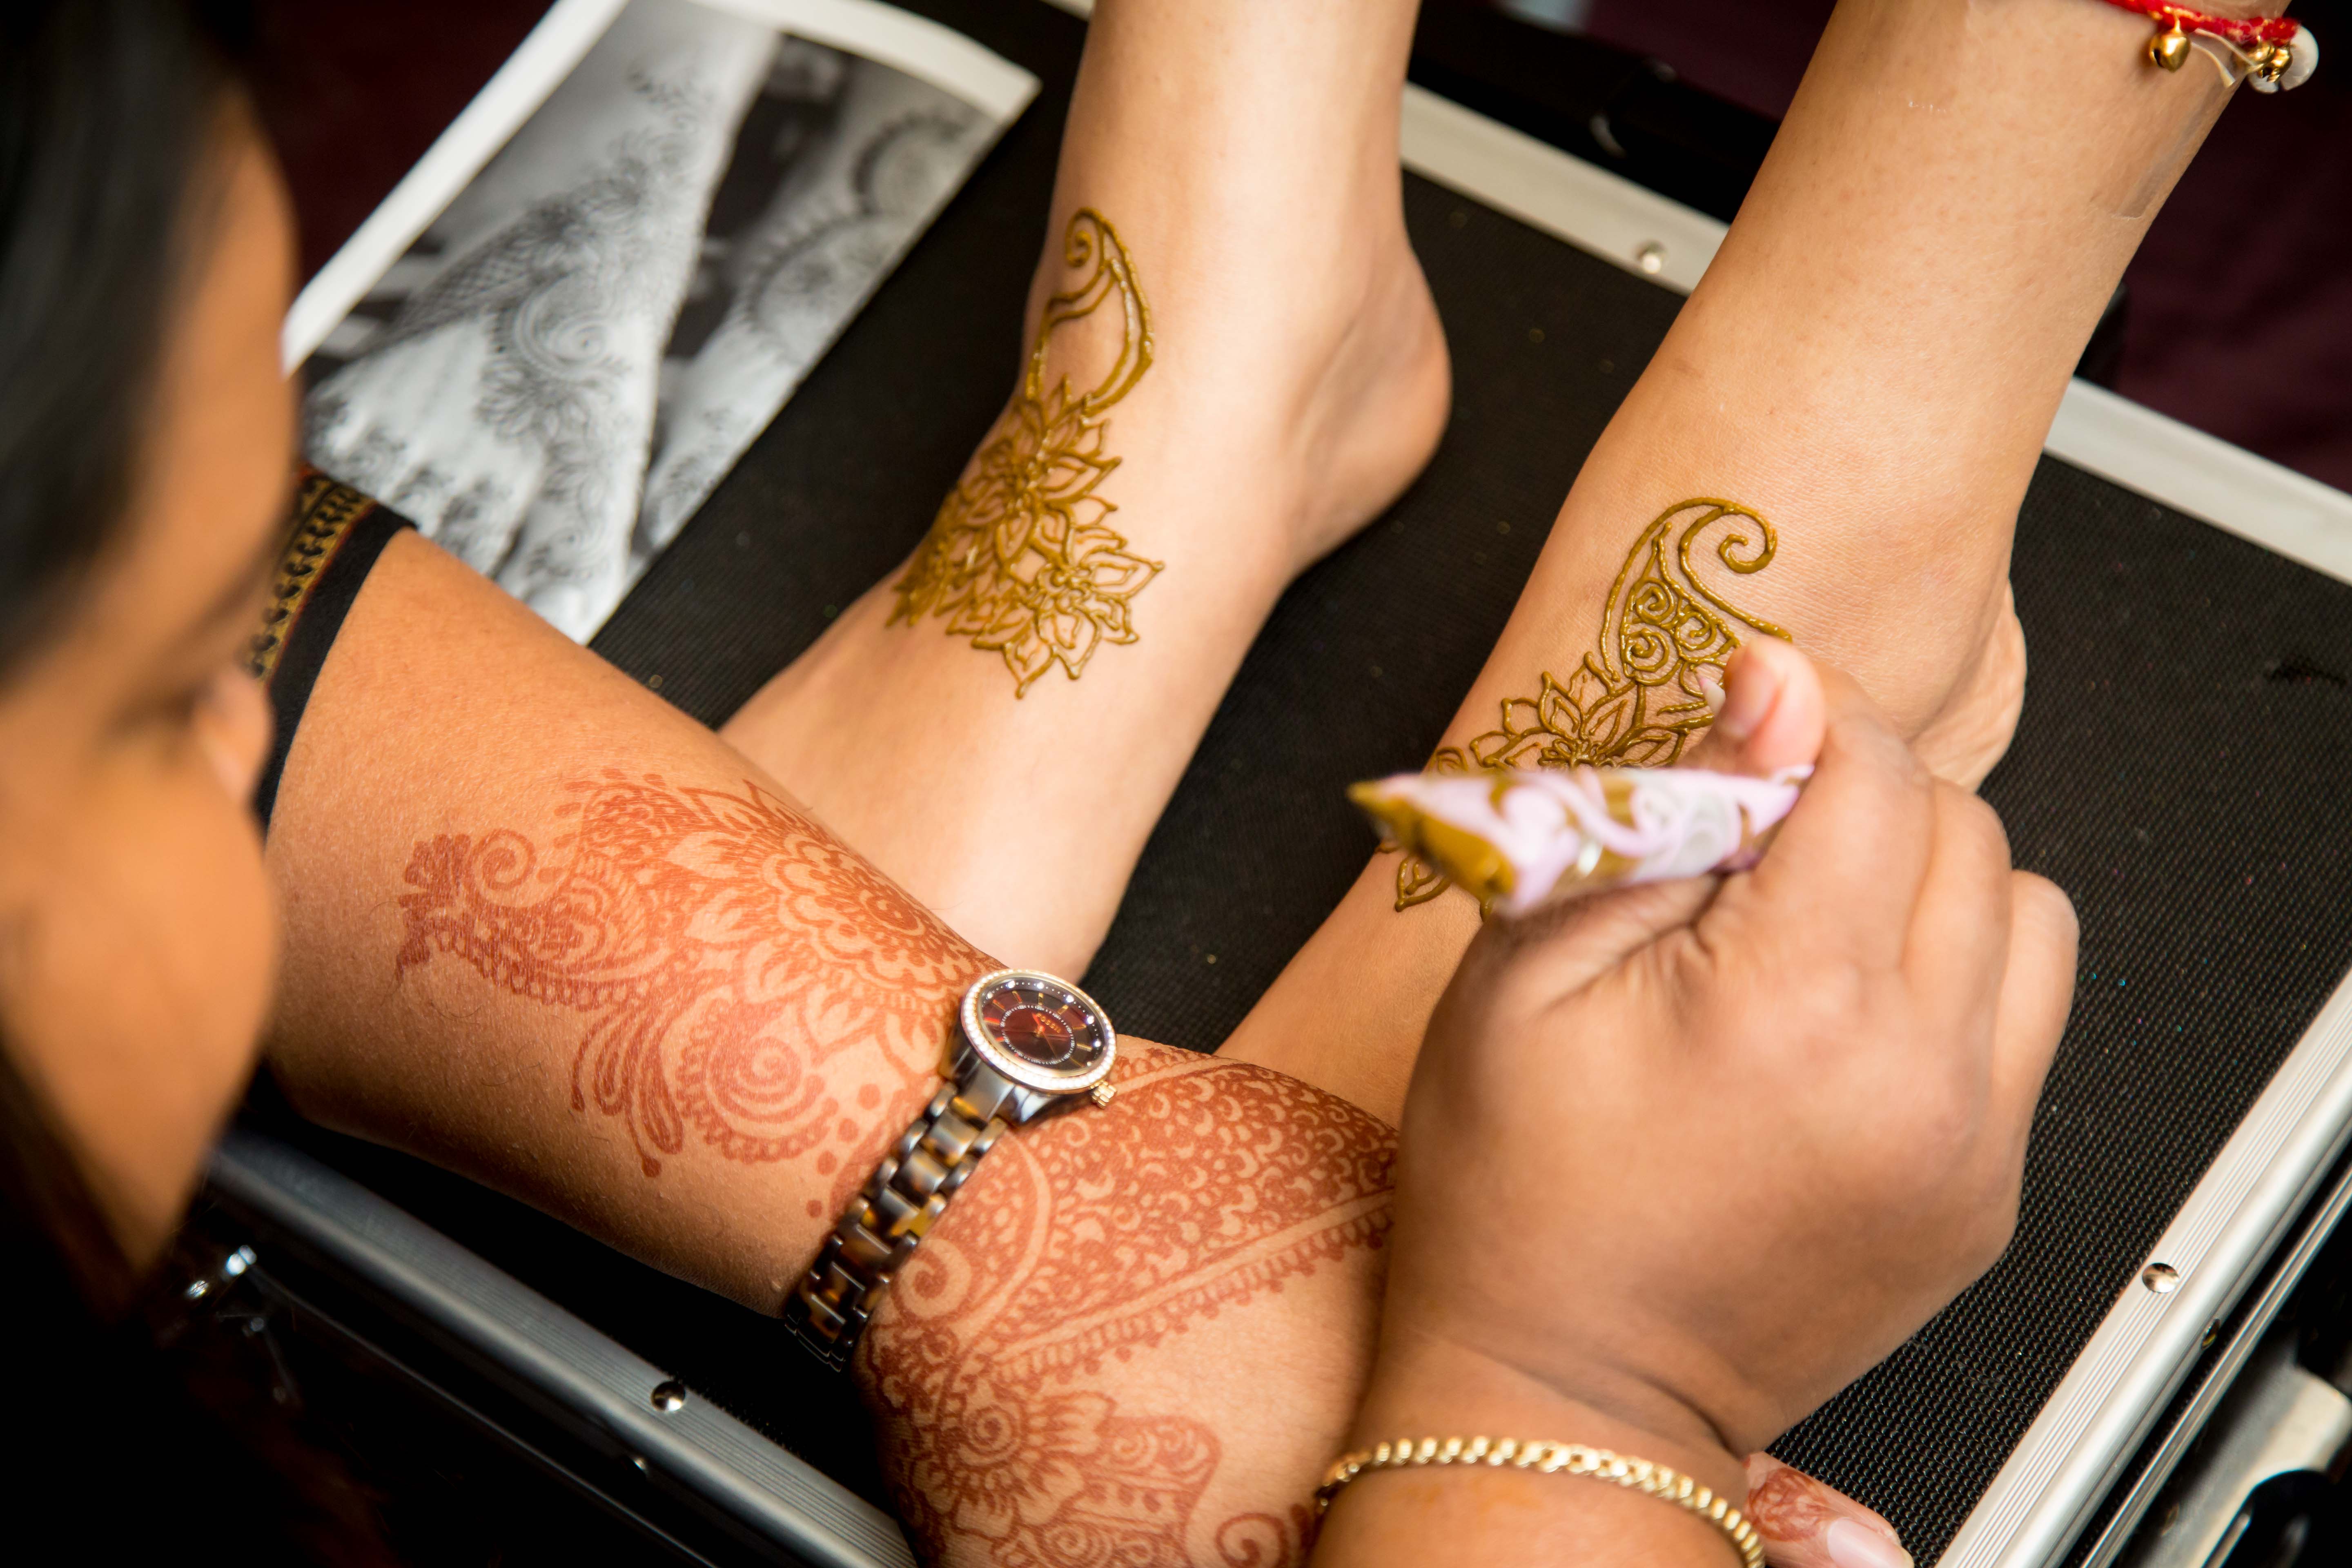
The Drying Process and Paste Removal
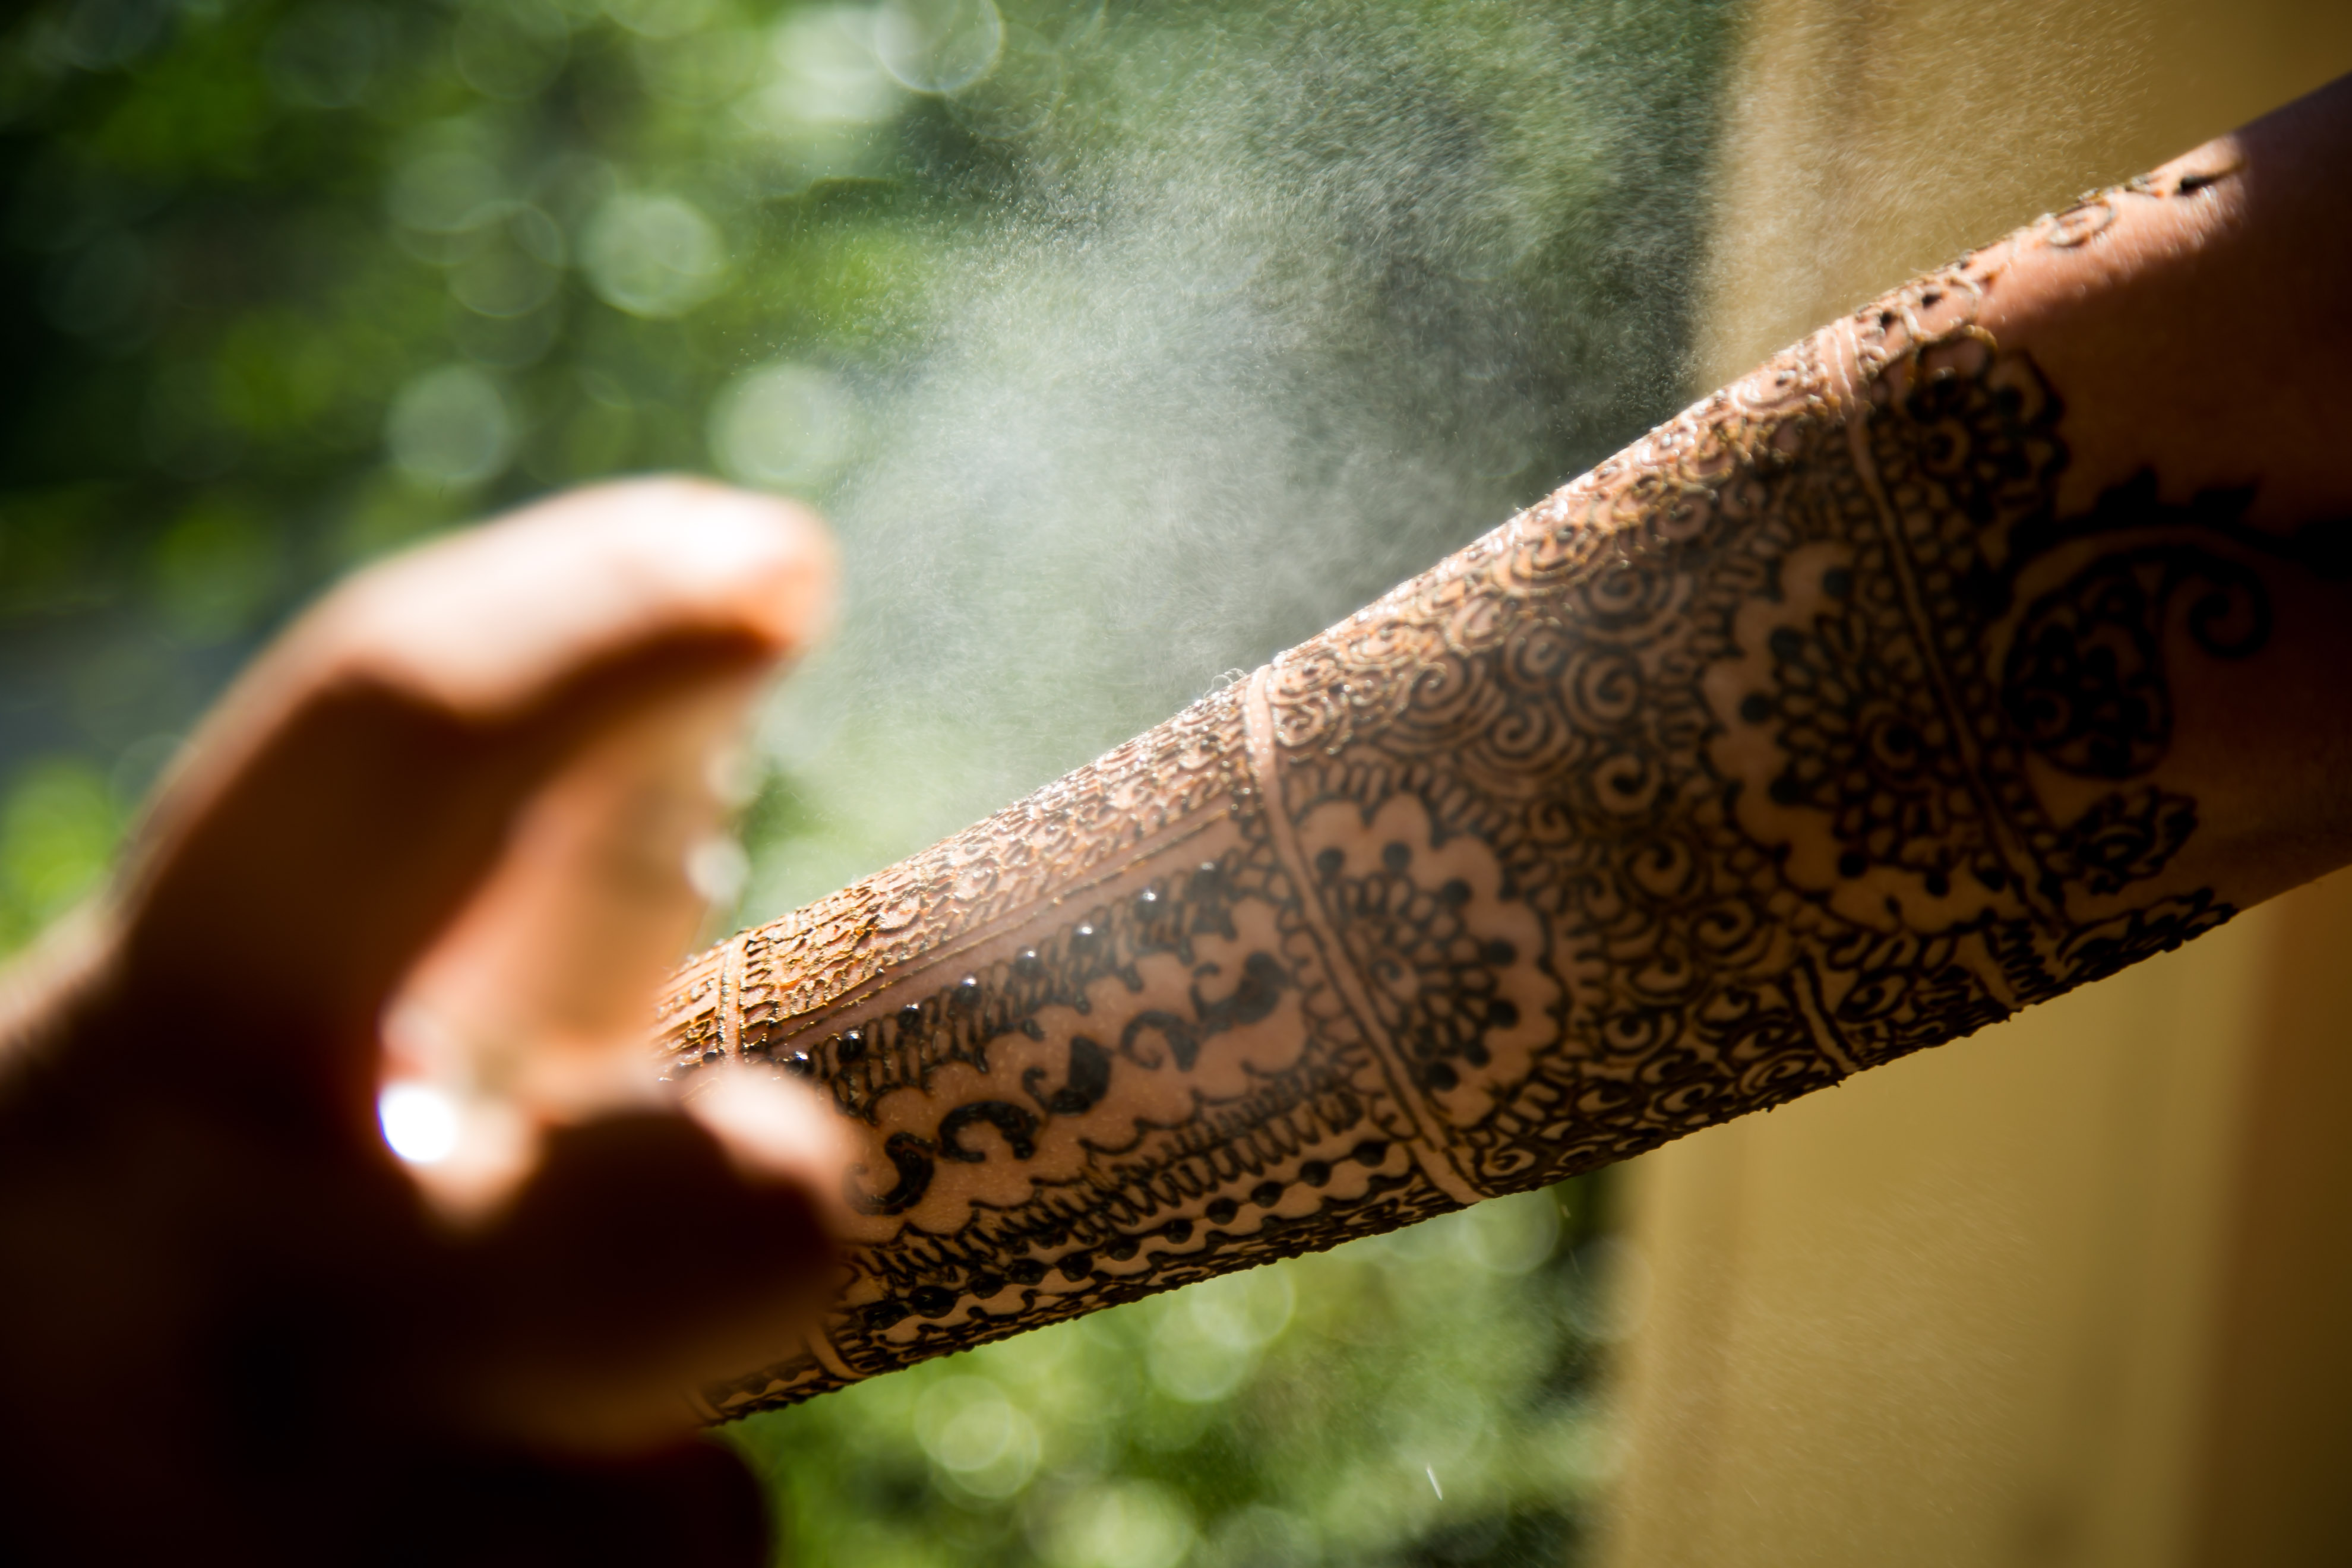
- Henna takes about 20-30 minutes to dry when applied. When dried, it is sprayed with a mixture of lemon juice and sugar which acts as a sealant and adheres the dried paste to the skin. The key is to let the paste stay on the skin for the color to be absorbed. The rule for bridal henna is simple- the longer you leave the paste on your skin, the deeper/darker the color pay off.
- After leaving the henna on for 6-8 hours, (longer if you’re able to withstand it) scrape the henna off- never wash it off with running water. I recommend using a plastic knife or even the back of a butter knife to help as this process can be a little tricky. Olive oil, mustard oil or after care balm would also help with the paste removal. Remember, resist the urge to wash it!
- When the paste is off wait for at least 2 hours before using water- avoid water if possible but me very mindful of exfoliants, baths, long shower etc.
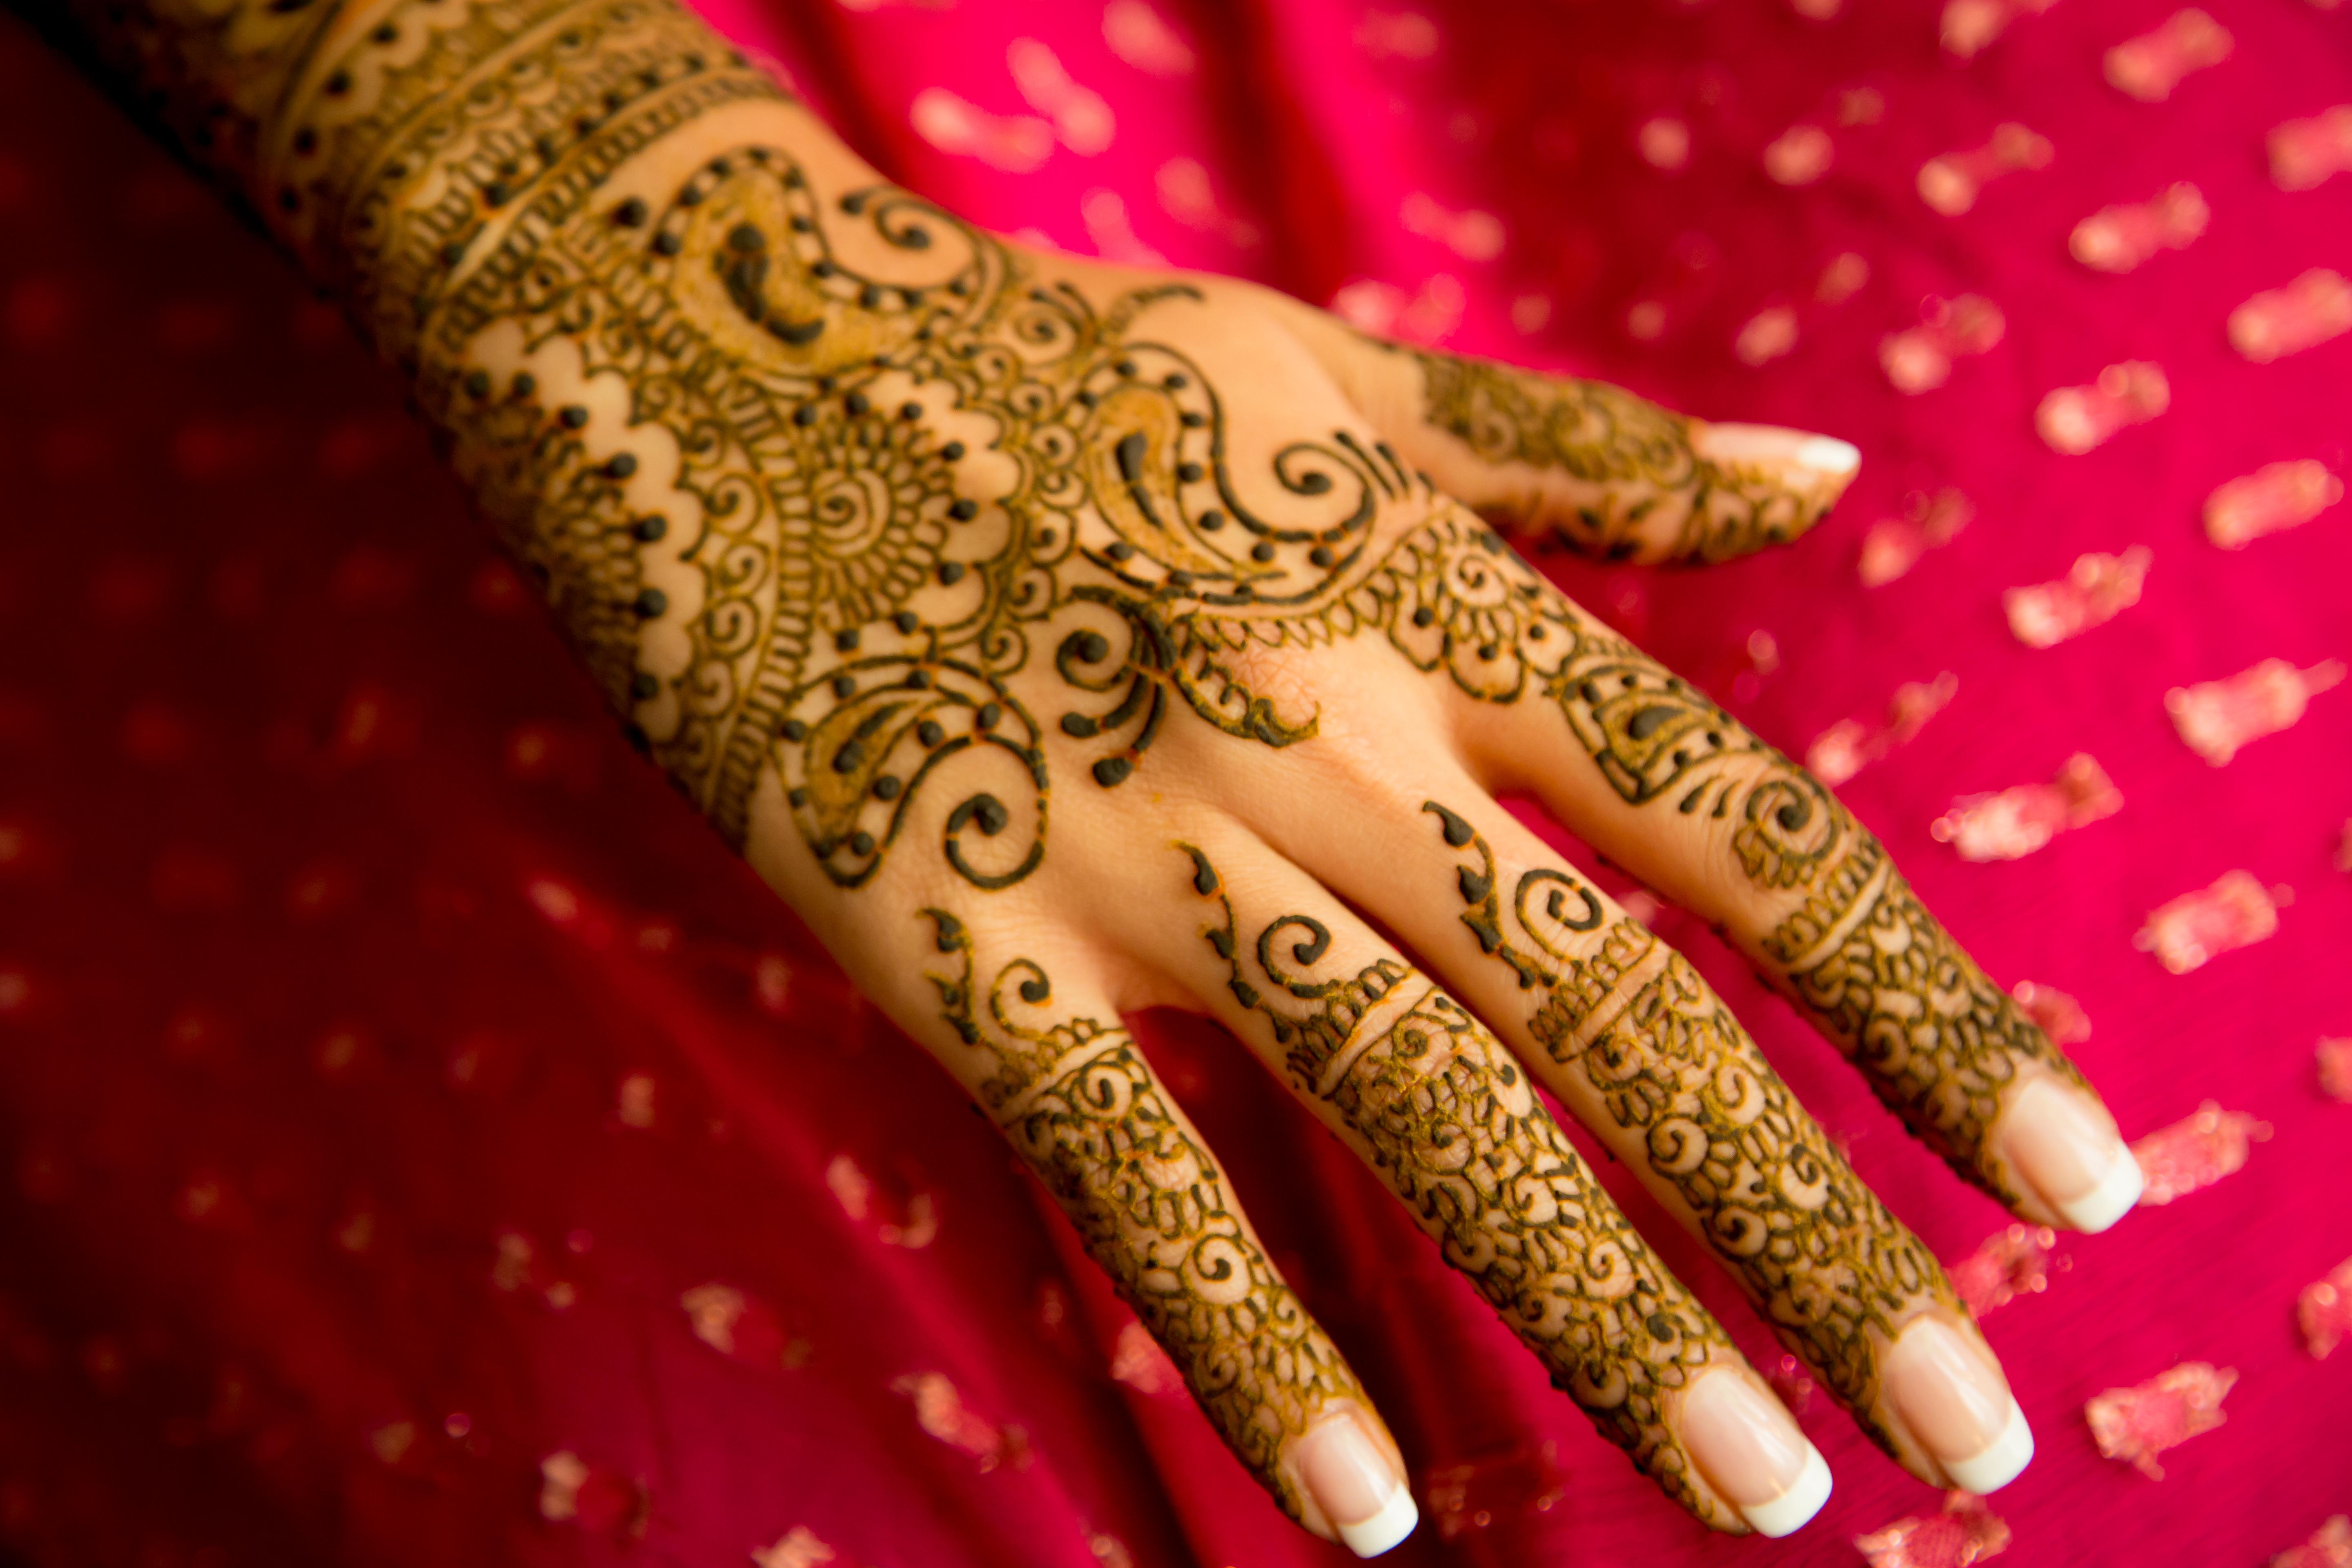
- Henna stains will be bright orange at first, and darken within 24-48 hours to reach peak color results of deep reddish-brown and up to dark cherry/ maroon tones.
Extras!
- Henna lowers the body temperature; you will feel cold as time passes with the paste on. It is helpful to have a heater or heat source for your own comfort. Wrapping with toilet tissue can help with staying warming and keeping the henna design intact. Whatever you do, please do not use any type of plastic product to wrap your design. Plastic causes sweat, which in turn results in a smeared/ ruined design.
- For even darker stains there are a couple “home remedies/tricks”
- Heating Cloves– Heating cloves and holding your hands with the paste on a few inches over the heated cloves are said to have darkening effects on henna. The smoke of the clove is said to be very beneficial to henna stains.
- Vicks Vapor Rub/ Menthol Rub– Often used for congestions and coughs, this menthol balm is also said to increase the intensity of the henna stain. After removing the paste, rub the entire area with the menthol balm and leave for a few hours.
Ambika, thanks for sharing your tips and tricks with us!
Now that you have the inside scoop on how to plan for having your mehndi done, here’s our tips on selecting an artist that’s the best fit for you.
- Schedule a consultation with the artist to meet with them and get a feel for their personality. Remember, bridal henna takes several hours. You’ll want to make sure you’re sitting with someone you can easily have a conversation with.
- Ask the artist what goes into their henna paste. The ingredients should be all natural and there shouldn’t be any chemicals. Beware of artists that add chemicals for a deeper color – it could result in a nightmare of a skin reaction. The last thing you want days before your wedding!
- Find out how the artist charges. Some artists have a set fee for certain amounts of henna design while others have an hourly fee and determine the number of hours needed based on the design you want. If you hire the artist for a mehndi party, they’ll most likely have an hourly charge. On average, artists can do 10-12 hands in an hour with a diagonal strip design. A hand means one side of one hand – so if you anticipate your guests wanting both hands done and/or both sides – be sure to reserve extra time for this.
- As Ambika mentioned, the mehndi stain deepens for 24-48 hours after the paste is removed. It’s ideal to schedule your mehndi application for 2 days before your wedding.
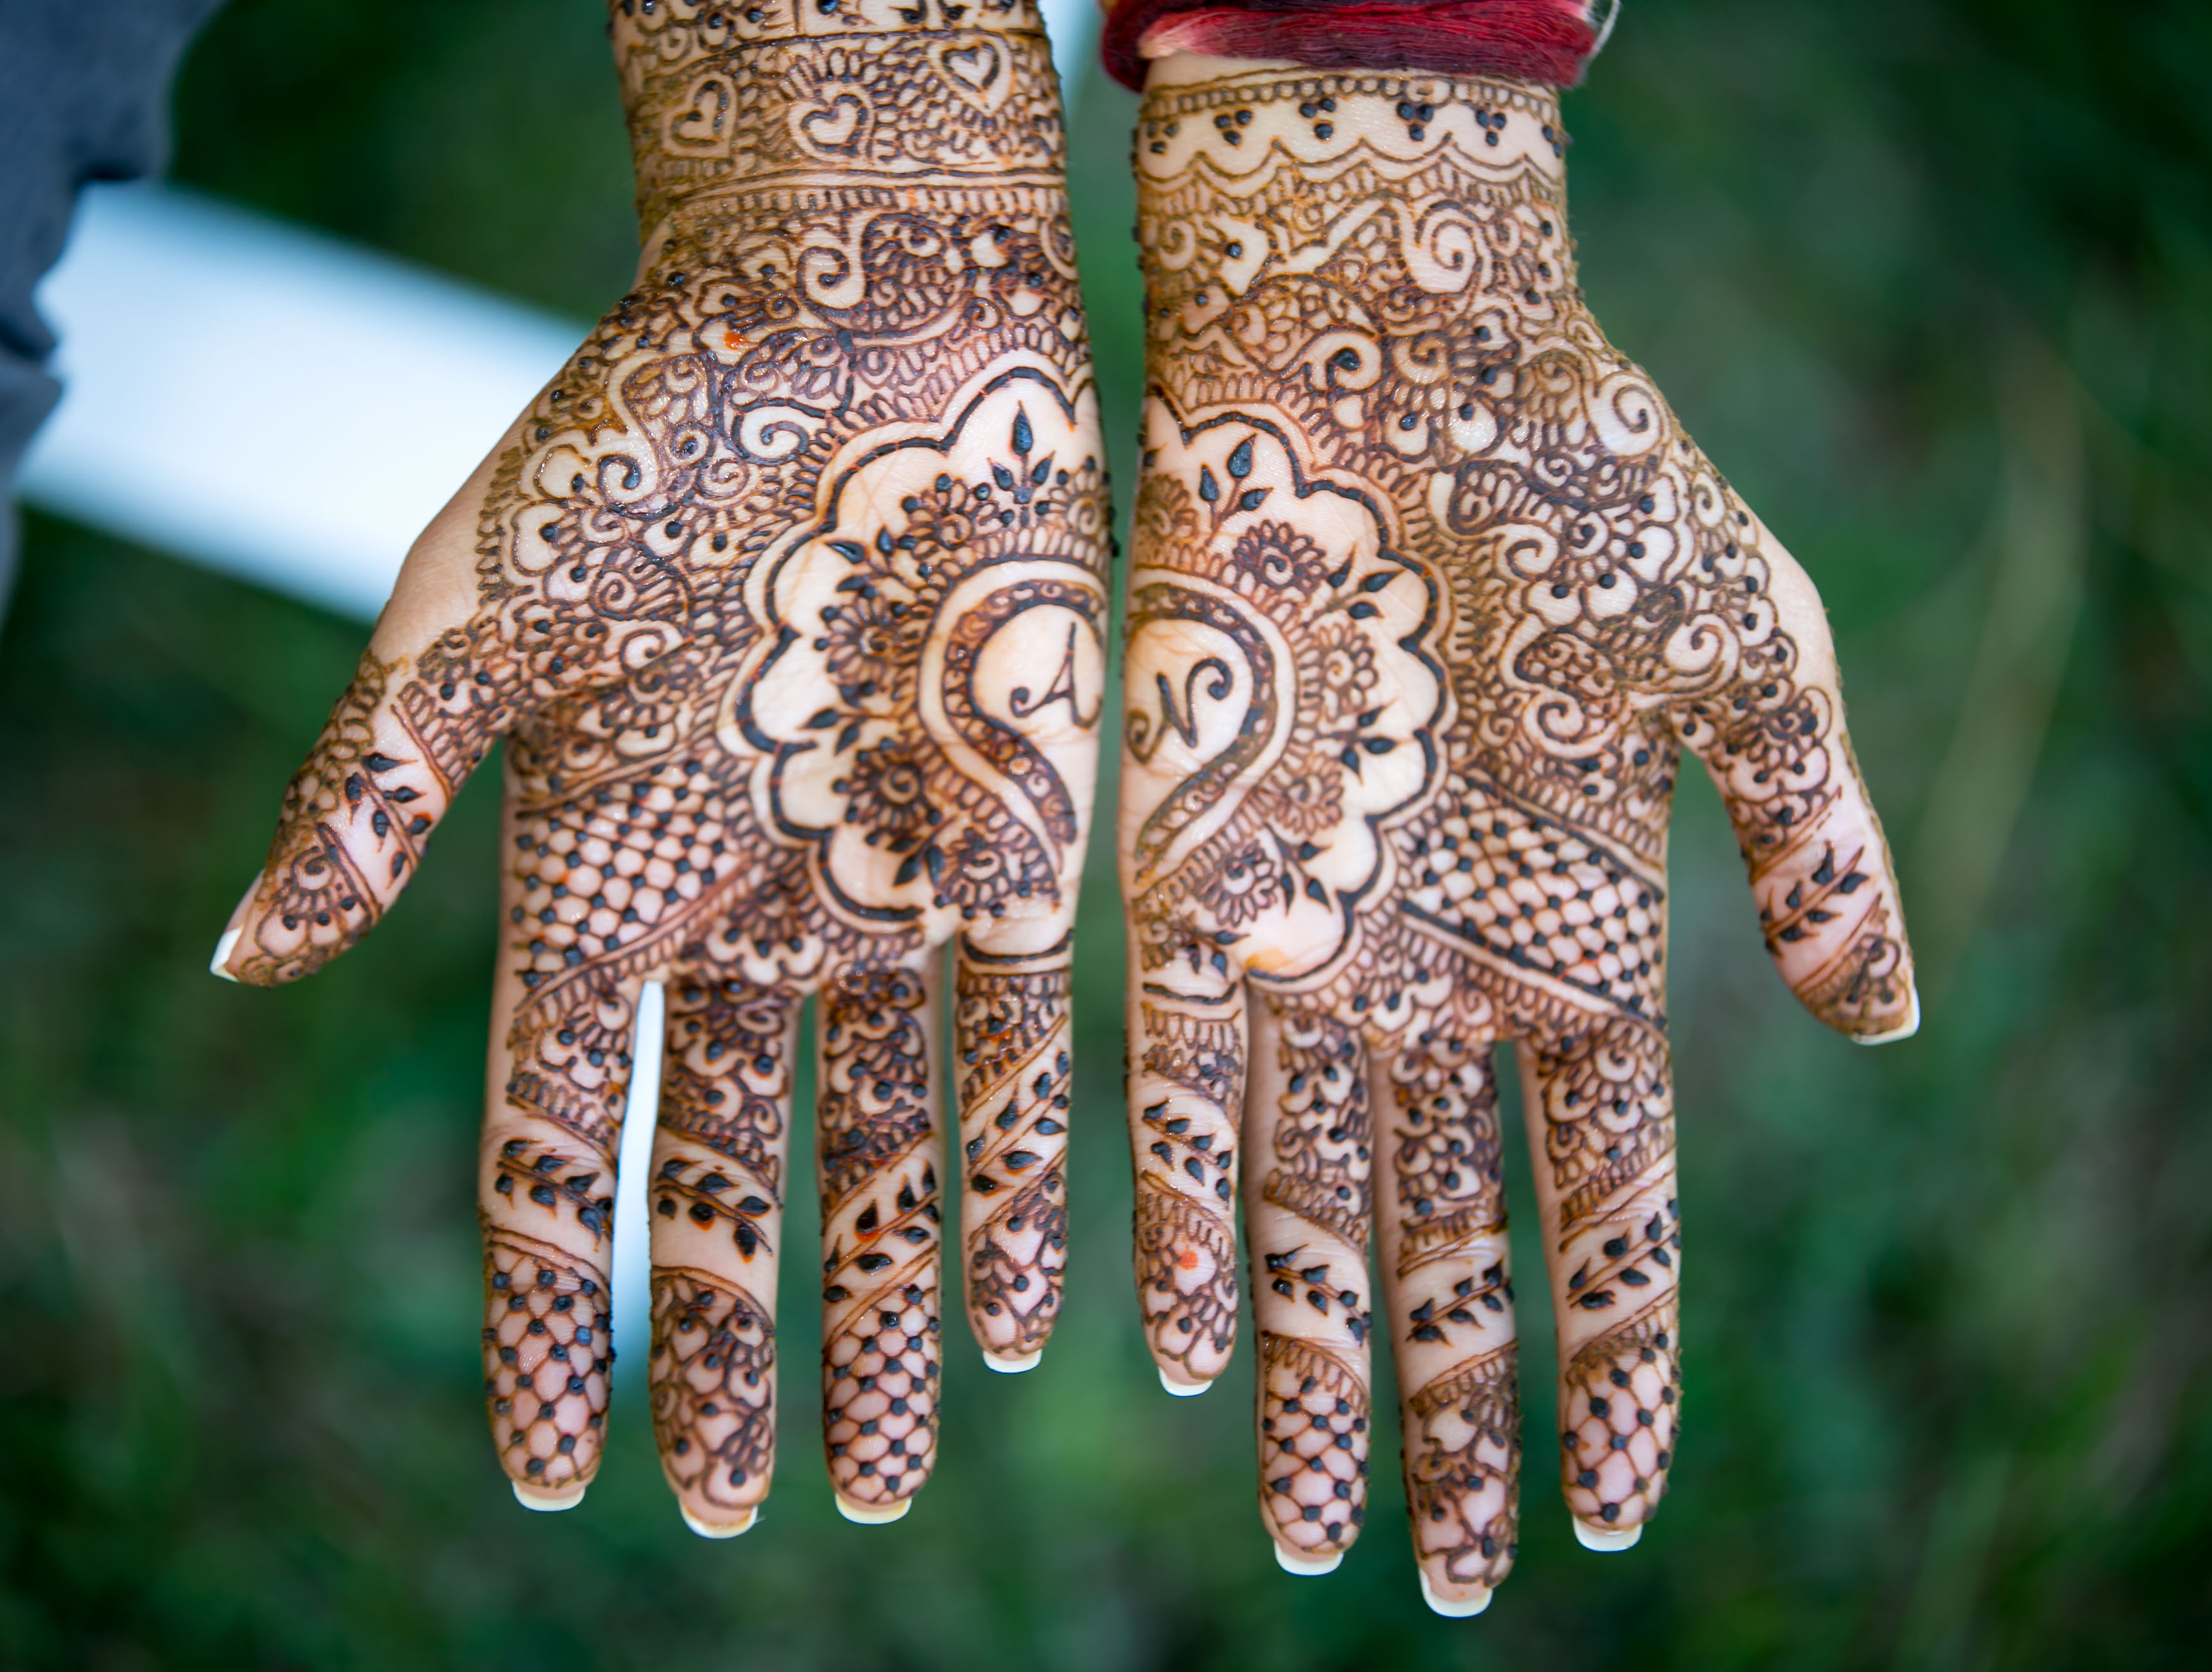
Images courtesy of Two Jakes Photography